
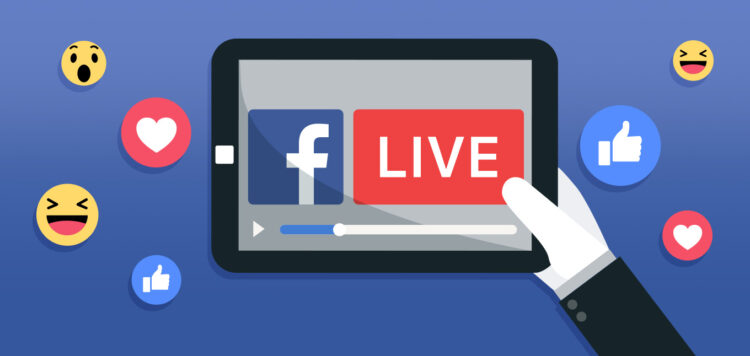
Facebook Live is a popular feature that allows users to broadcast live videos to their friends, family, and followers. While the videos are available for viewing after the broadcast ends, many users may want to save the videos for future reference or to share with others. In this article, we will discuss how to save Facebook Live videos.
1. Start a Facebook Live Video
To save a Facebook Live video, you must first start a live video. To do this, open the Facebook app on your mobile device or go to the Facebook website on your computer. Click on the “Live” button located in the status update box. You can then choose who you want to share the video with and add a description.
2. End the Facebook Live Video
Once you have finished your Facebook Live video, you can end the broadcast by clicking on the “Finish” button. The video will then be saved to your profile and will be available for viewing by your friends and followers.
3. Download the Facebook Live Video
To download a Facebook Live video, you can use a third-party app or website. One popular option is the website FBdown.net. Simply copy the URL of the Facebook Live video and paste it into the FBdown.net website. You can then choose to download the video in either standard or high definition.
4. Save the Facebook Live Video to Your Camera Roll
If you are using an iPhone or iPad, you can save a Facebook Live video to your camera roll by using the screen recording feature. To do this, go to “Settings” and select “Control Center.” Add the “Screen Recording” option to your control center and then start playing the Facebook Live video. Swipe up from the bottom of your screen to access the control center and tap on the screen recording icon. The video will then be saved to your camera roll.
5. Use a Video Downloader App
Another option for saving Facebook Live videos is to use a video downloader app. There are many apps available for both iOS and Android devices that allow you to download videos from Facebook. Simply search for “Facebook video downloader” in the app store and choose one that meets your needs.
6. Save the Facebook Live Video to Your Computer
If you are using a computer, you can save a Facebook Live video by using a video downloader program. One popular option is the program 4K Video Downloader. Simply copy the URL of the Facebook Live video and paste it into the program. You can then choose to download the video in either standard or high definition.
7. Share the Facebook Live Video
Once you have saved a Facebook Live video, you can share it with others by uploading it to a video hosting site such as YouTube or Vimeo. You can also share the video directly on Facebook by clicking on the “Share” button located below the video.
8. Edit the Facebook Live Video
If you want to edit a Facebook Live video before sharing it, you can use a video editing program such as iMovie or Adobe Premiere Pro. These programs allow you to trim the video, add music or sound effects, and make other adjustments to improve the quality of the video.
9. Keep the Facebook Live Video Private
If you do not want your Facebook Live video to be visible to everyone, you can adjust the privacy settings. When you start a Facebook Live video, you can choose who you want to share it with. You can also change the privacy settings after the broadcast has ended by going to your profile and selecting “Edit Post.”
10. Conclusion
In conclusion, there are many ways to save Facebook Live videos. Whether you want to download the video to your computer or share it with others, there are options available for both mobile and desktop users. By following the steps outlined in this article, you can easily save and share your Facebook Live videos.